
How to put your pattern on products with Printify
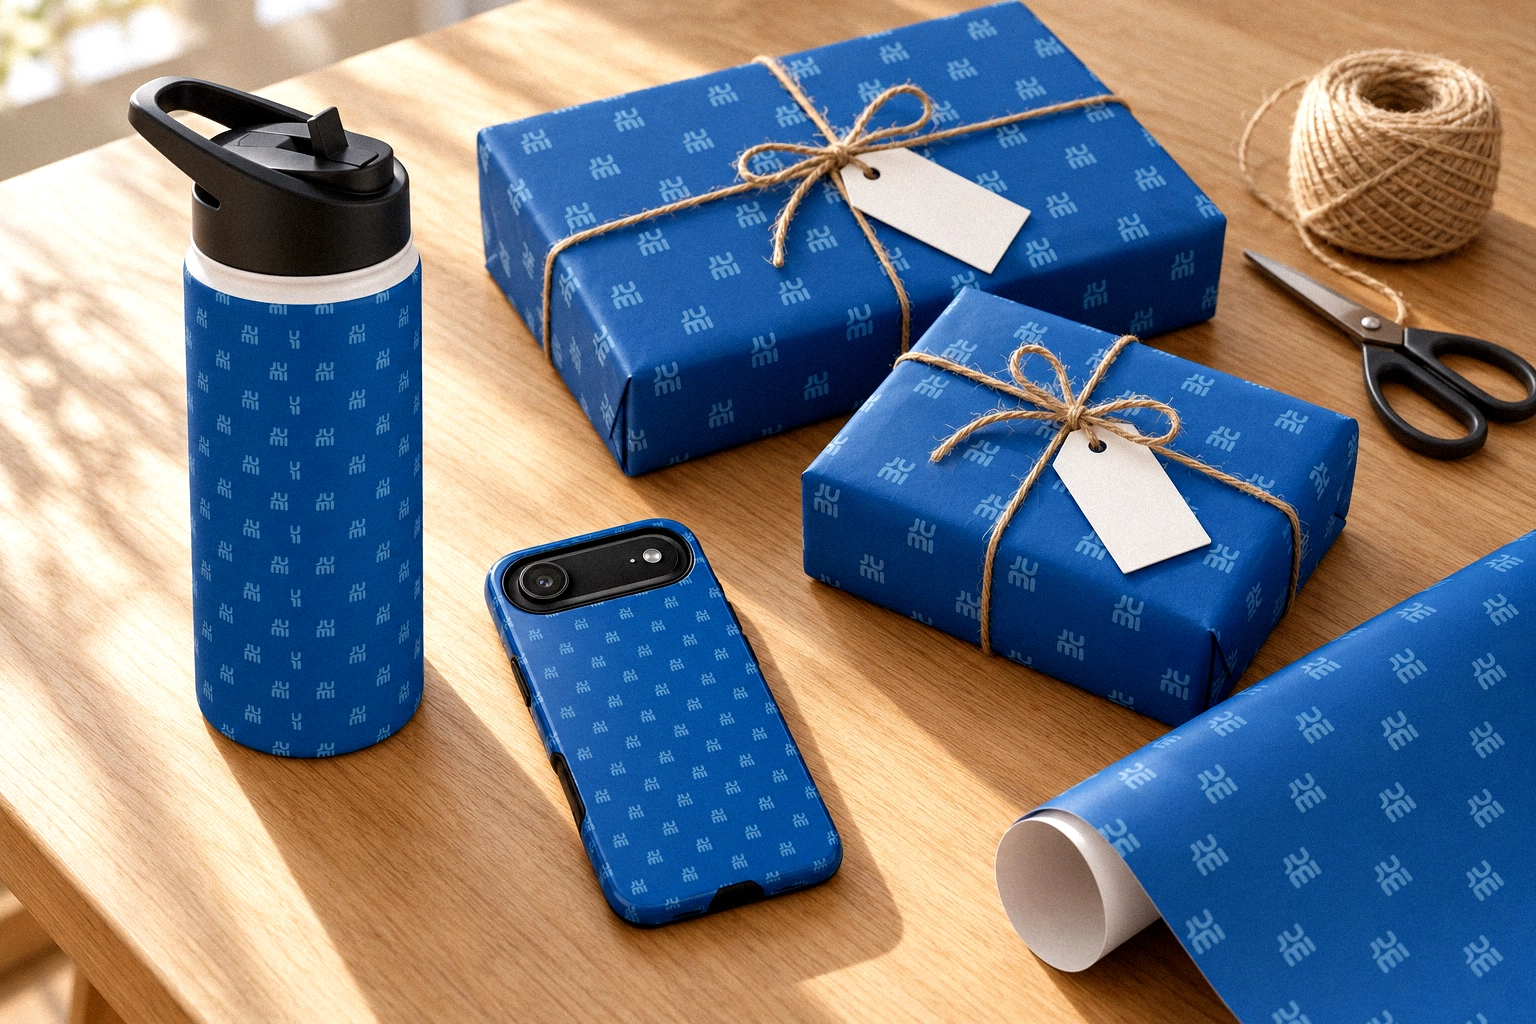
You've made a pattern you love. The next step is seeing it on something you can hold, or something you can sell. Print-on-demand services make that possible without buying stock up front, and Printify is one of the easiest to start with. This guide covers the settings that keep your repeat seamless from the editor all the way to the finished product.
This guide contains affiliate links to Printify. If you sign up through them we may earn a commission, at no extra cost to you. How we earn.
How Printify works
Printify (affiliate link) connects you with a network of print providers. You upload your design, choose products such as t-shirts, tote bags, mugs, cushions or all-over-print leggings, and list them in your own shop, for example on Etsy or Shopify. When a customer orders, the item is printed and shipped for you. You pay for each item only when it sells, so there's no stock sitting in a cupboard.
Anything you create in PatternMaker is yours to sell. Our Terms of Use allow commercial use, including products, with no credit or fee.
Step 1: choose a tile size that divides evenly
This is the one setting that matters most. When you export, PatternMaker fills a square image with copies of your tile. If the tile size divides evenly into the export size, the image ends on a complete tile, so its edges join up perfectly when Printify repeats it. If not, the last row and column are cut short, and you'll see a seam wherever the image repeats.
Set the tile size in the toolbar before you design. These sizes divide evenly into every export size (1000, 2000, 4000 and 8000 px):
- 200 or 250 px for small, dense motifs, the classic all-over "ditsy" look.
- 500 px, a good middle ground for tees, totes and cushions.
- 1000 px for large, bold motifs that repeat only a few times across a product.
Step 2: export a PNG at the right size
Printify accepts PNG, JPEG and SVG. A PNG is the safest choice: it keeps your colours exactly and Printify accepts files up to 100 MB. Use the caret next to the PNG button to pick a size.
Print sharpness depends on pixels per inch (DPI). Printify recommends 300 DPI for most products and accepts 120 to 150 DPI for very large items such as blankets, tapestries and leggings. Here's how large each export can print:
| PNG export | At 300 DPI (most products) | At 150 DPI (large items) |
|---|---|---|
| 1000 px | 3.3 in (8.5 cm) | 6.7 in (17 cm) |
| 2000 px | 6.7 in (17 cm) | 13.3 in (34 cm) |
| 4000 px | 13.3 in (34 cm) | 26.7 in (68 cm) |
| 8000 px | 26.7 in (68 cm) | 53.3 in (135 cm) |
For a mug or a phone case, 2000 px is plenty. For a t-shirt front, tote or cushion, use 4000 px. For all-over-print clothing and blankets, use 8000 px. If in doubt, export larger: a big file scales down cleanly, but a small one blurs when it's enlarged.
Tick Transparent background in the same menu when you want the product's own colour to show between your motifs, for example on a coloured t-shirt or mug.
Step 3: pick a product
Printify's products fall into two groups, and it helps to know which you're using:
- Print-area products, such as most t-shirts, mugs and posters, have a fixed rectangle where the design goes.
- All-over-print (AOP) products, such as leggings, cushions, blankets and some tees, are printed edge to edge, often across several panels. Seamless patterns are made for these.
Preview your pattern in PatternMaker's Mockups first. It gives you a quick sense of scale on a t-shirt, mug, tote, cushion, phone case and framed print before you commit.
Step 4: upload and place your pattern
Open the product in Printify's product creator and upload your PNG. You then have two ways to cover the product:
Option A: fill the print area with one image
Scale your PNG until it covers the whole print area. Because the image already contains your repeat, this works with any tile size and is the simplest route for print-area products.
Option B: use Printify's Pattern tool
Select your image and click Pattern in the toolbar. Printify repeats the image across every print area at once, which is especially useful for all-over-print products with several panels. For a seamless result:
- Choose the grid layout.
- Set spacing to zero. Any gap shows as a stripe between repeats.
- Leave offset off. Your tile is already designed to repeat, so offsetting can break the design.
- Make sure you used an evenly dividing tile size from step 1.
Step 5: check the preview and order a sample
Zoom in on Printify's preview and look along seams, hems and panel edges. Then order one sample for yourself before you list the product. Screens glow and ink absorbs, so bright, saturated colours can print a little duller. A physical sample is the only real test, and it gives you your own product photos too.
A quick checklist
- Tile size of 200, 250, 500 or 1000 px if you'll use the Pattern tool.
- PNG export large enough for the product, using the table above.
- Transparent background only where the product colour should show through.
- Grid layout, zero spacing and no offset in Printify's Pattern tool.
- A sample ordered and checked before you publish the listing.
Keep reading: Patterns for fabric & apparel · SVG vs PNG · Choosing colours